How to use the GitHub API directly from your Next.js app using API Hero
TLDR: this will take you less time than you think

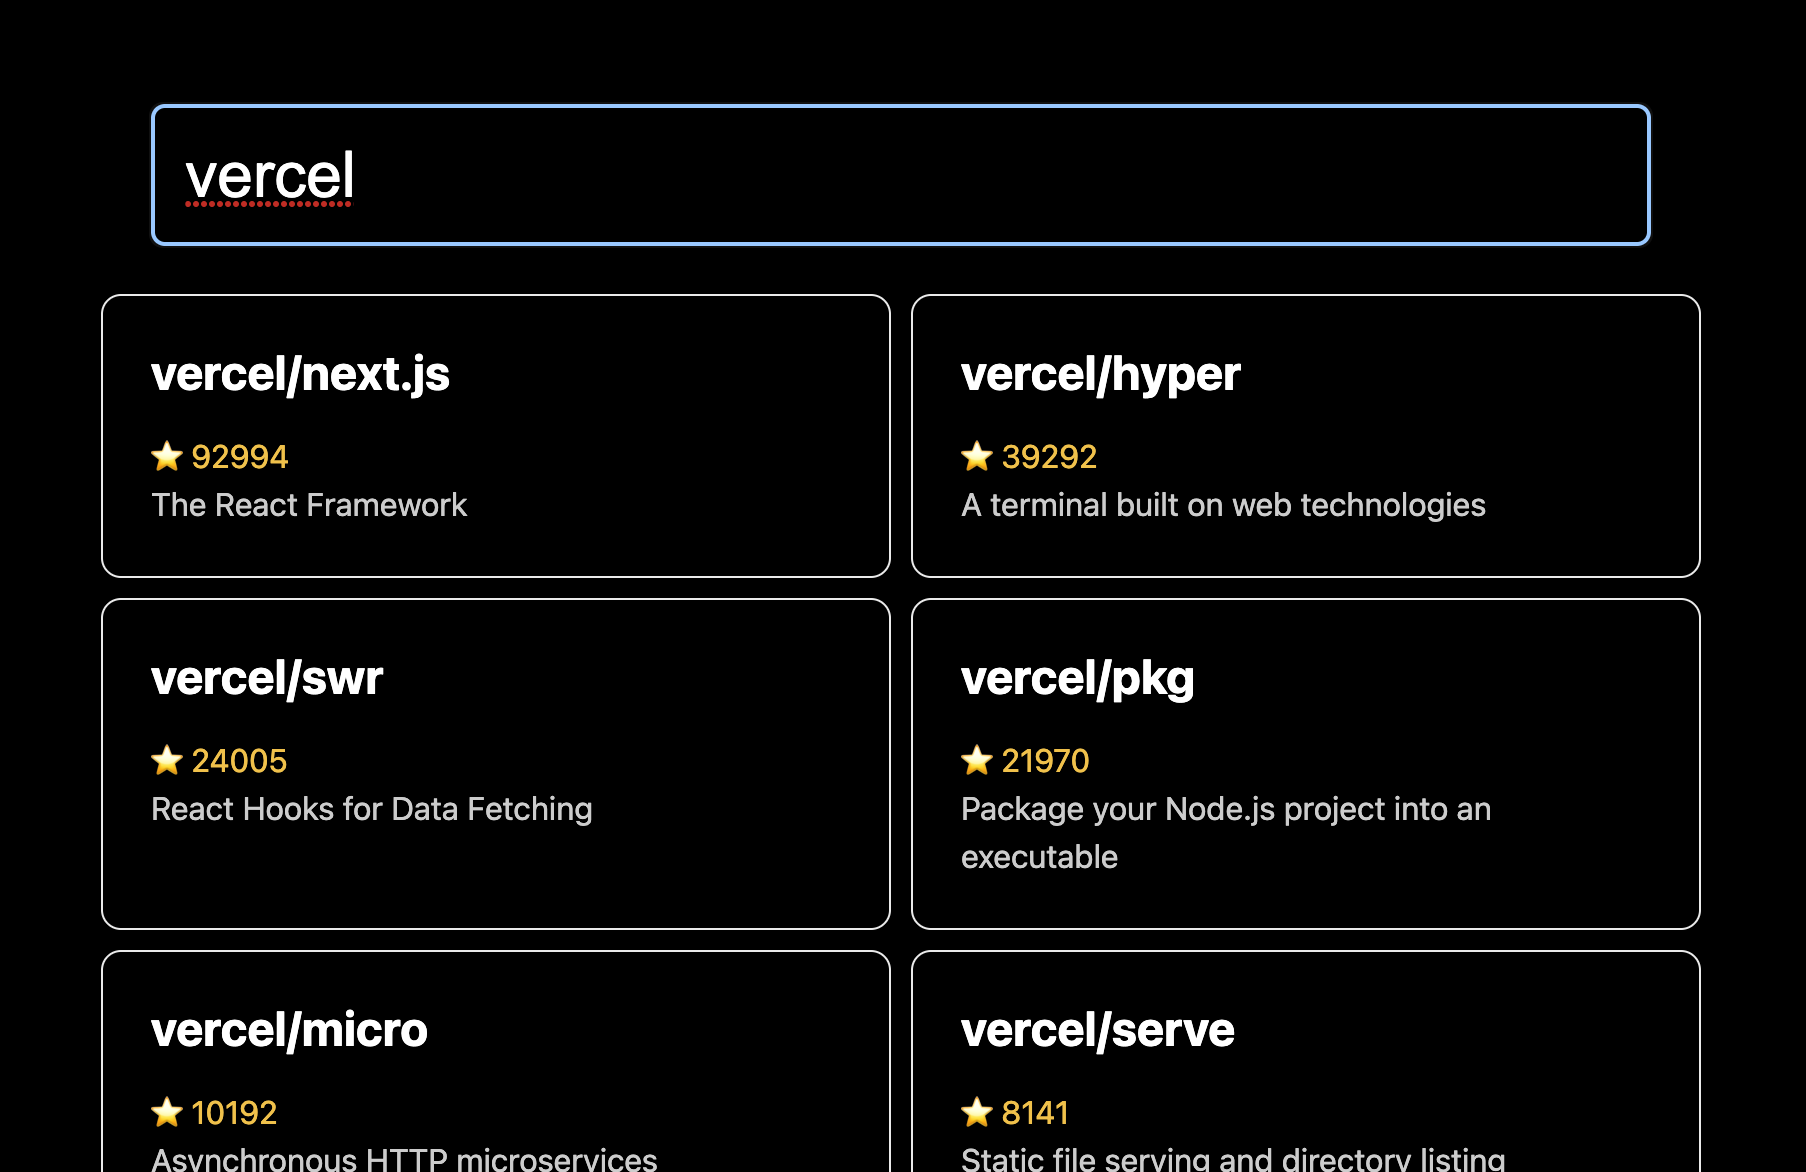
We're going to make a simple Next.js app that displays a GitHub user, or organisation’s, most popular public GitHub repositories.
This is what the final thing will look like:

There is one major issue: GitHub has a very low rate limit of only 60 requests per hour without authentication. I hit this limit whilst playing with the site myself for just a few minutes locally! We can't add authentication on the client as that would involve leaking that information to all of our users.
We could create a proxy by using Next.js API routes. This means creating our own API route which then queries GitHub and then returns GitHub's response back to React. It's a bit annoying having to do this. A more serious problem is we want to add caching so we can scale the number of requests up a lot, only fetching new data.
Instead of all that hard work we're going to use API Hero to connect to GitHub. We can use it directly from our React components, we can safely add authentication, add caching and we'll get API logging built-in as well.
What is API Hero?
Before we get started, if you aren't familiar with API Hero, you can quickly get up to speed with this 60 second explainer:
Guide
It will take about 10 mins to create this app.
1. Setting up the project
Let's create our Next.js app first:
npx create-next-app@latest --ts
It will ask you to name your project. I went with github-user-repos. It's worth noting that the --ts flag creates a TypeScript project.
2. Installing dependencies
Open the project in your preferred code editor and get a terminal in the project directory.
I use VSCode with their built-in terminal 💯
Install the packages:
npm i
3. Add API Hero and the GitHub integration
We're going to use the API Hero Command Line Tool (CLI) to add everything we need. This will take 30 seconds.
a) Run the CLI
npx apihero@latest add github
It will probably ask your permission to install the apihero package, type y and hit enter.
b) Login
Next you'll need to login to connect the Command Line Tool by clicking the link

Login using GitHub and you should see that you've been successfully authenticated.
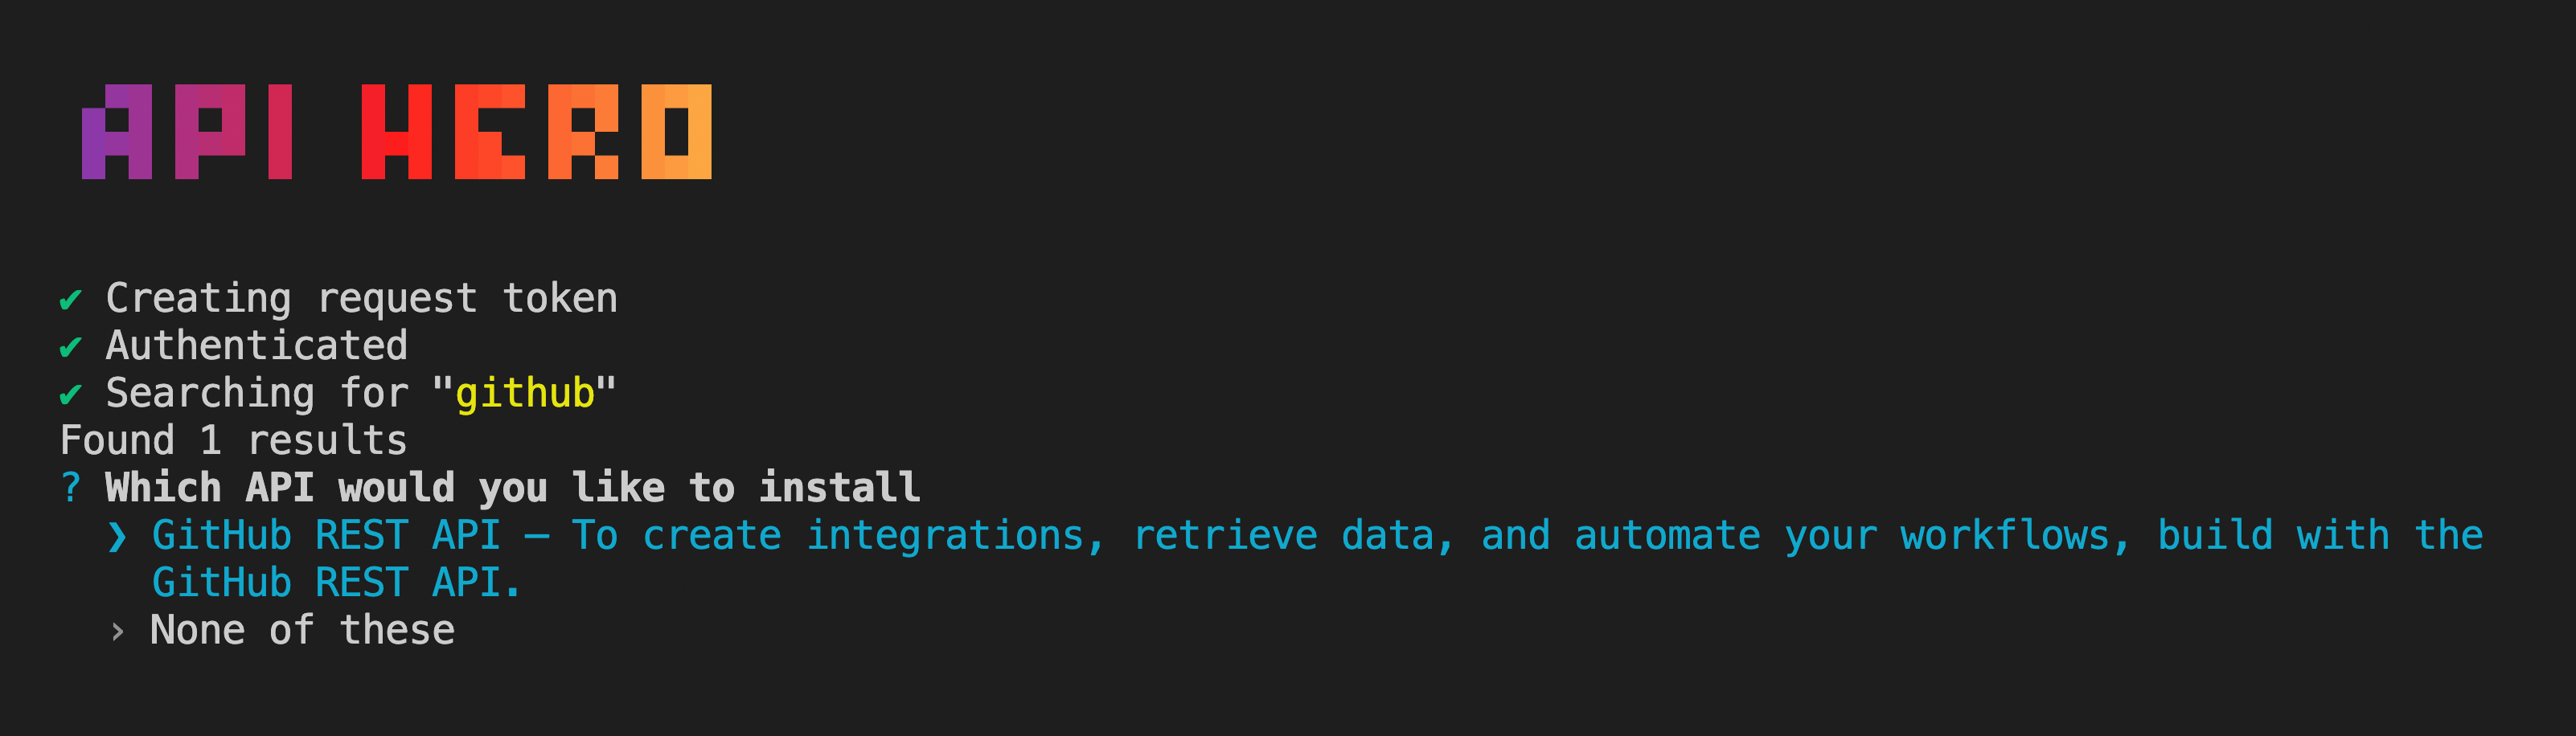
c) Select GitHub and name your project
Go back to your terminal and select the GitHub API and hit return.
You will be asked to create a new workspace and project by giving them a name.
d) Select the "React" package

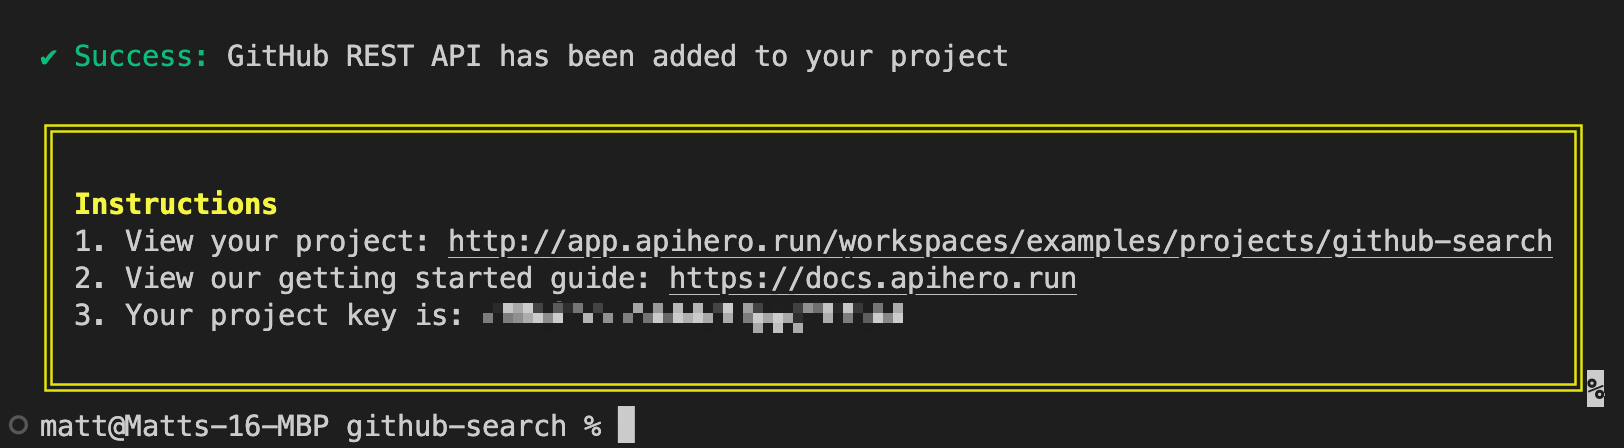
Hopefully you now see the instructions in the CLI. This means we're done.
4. Run the site
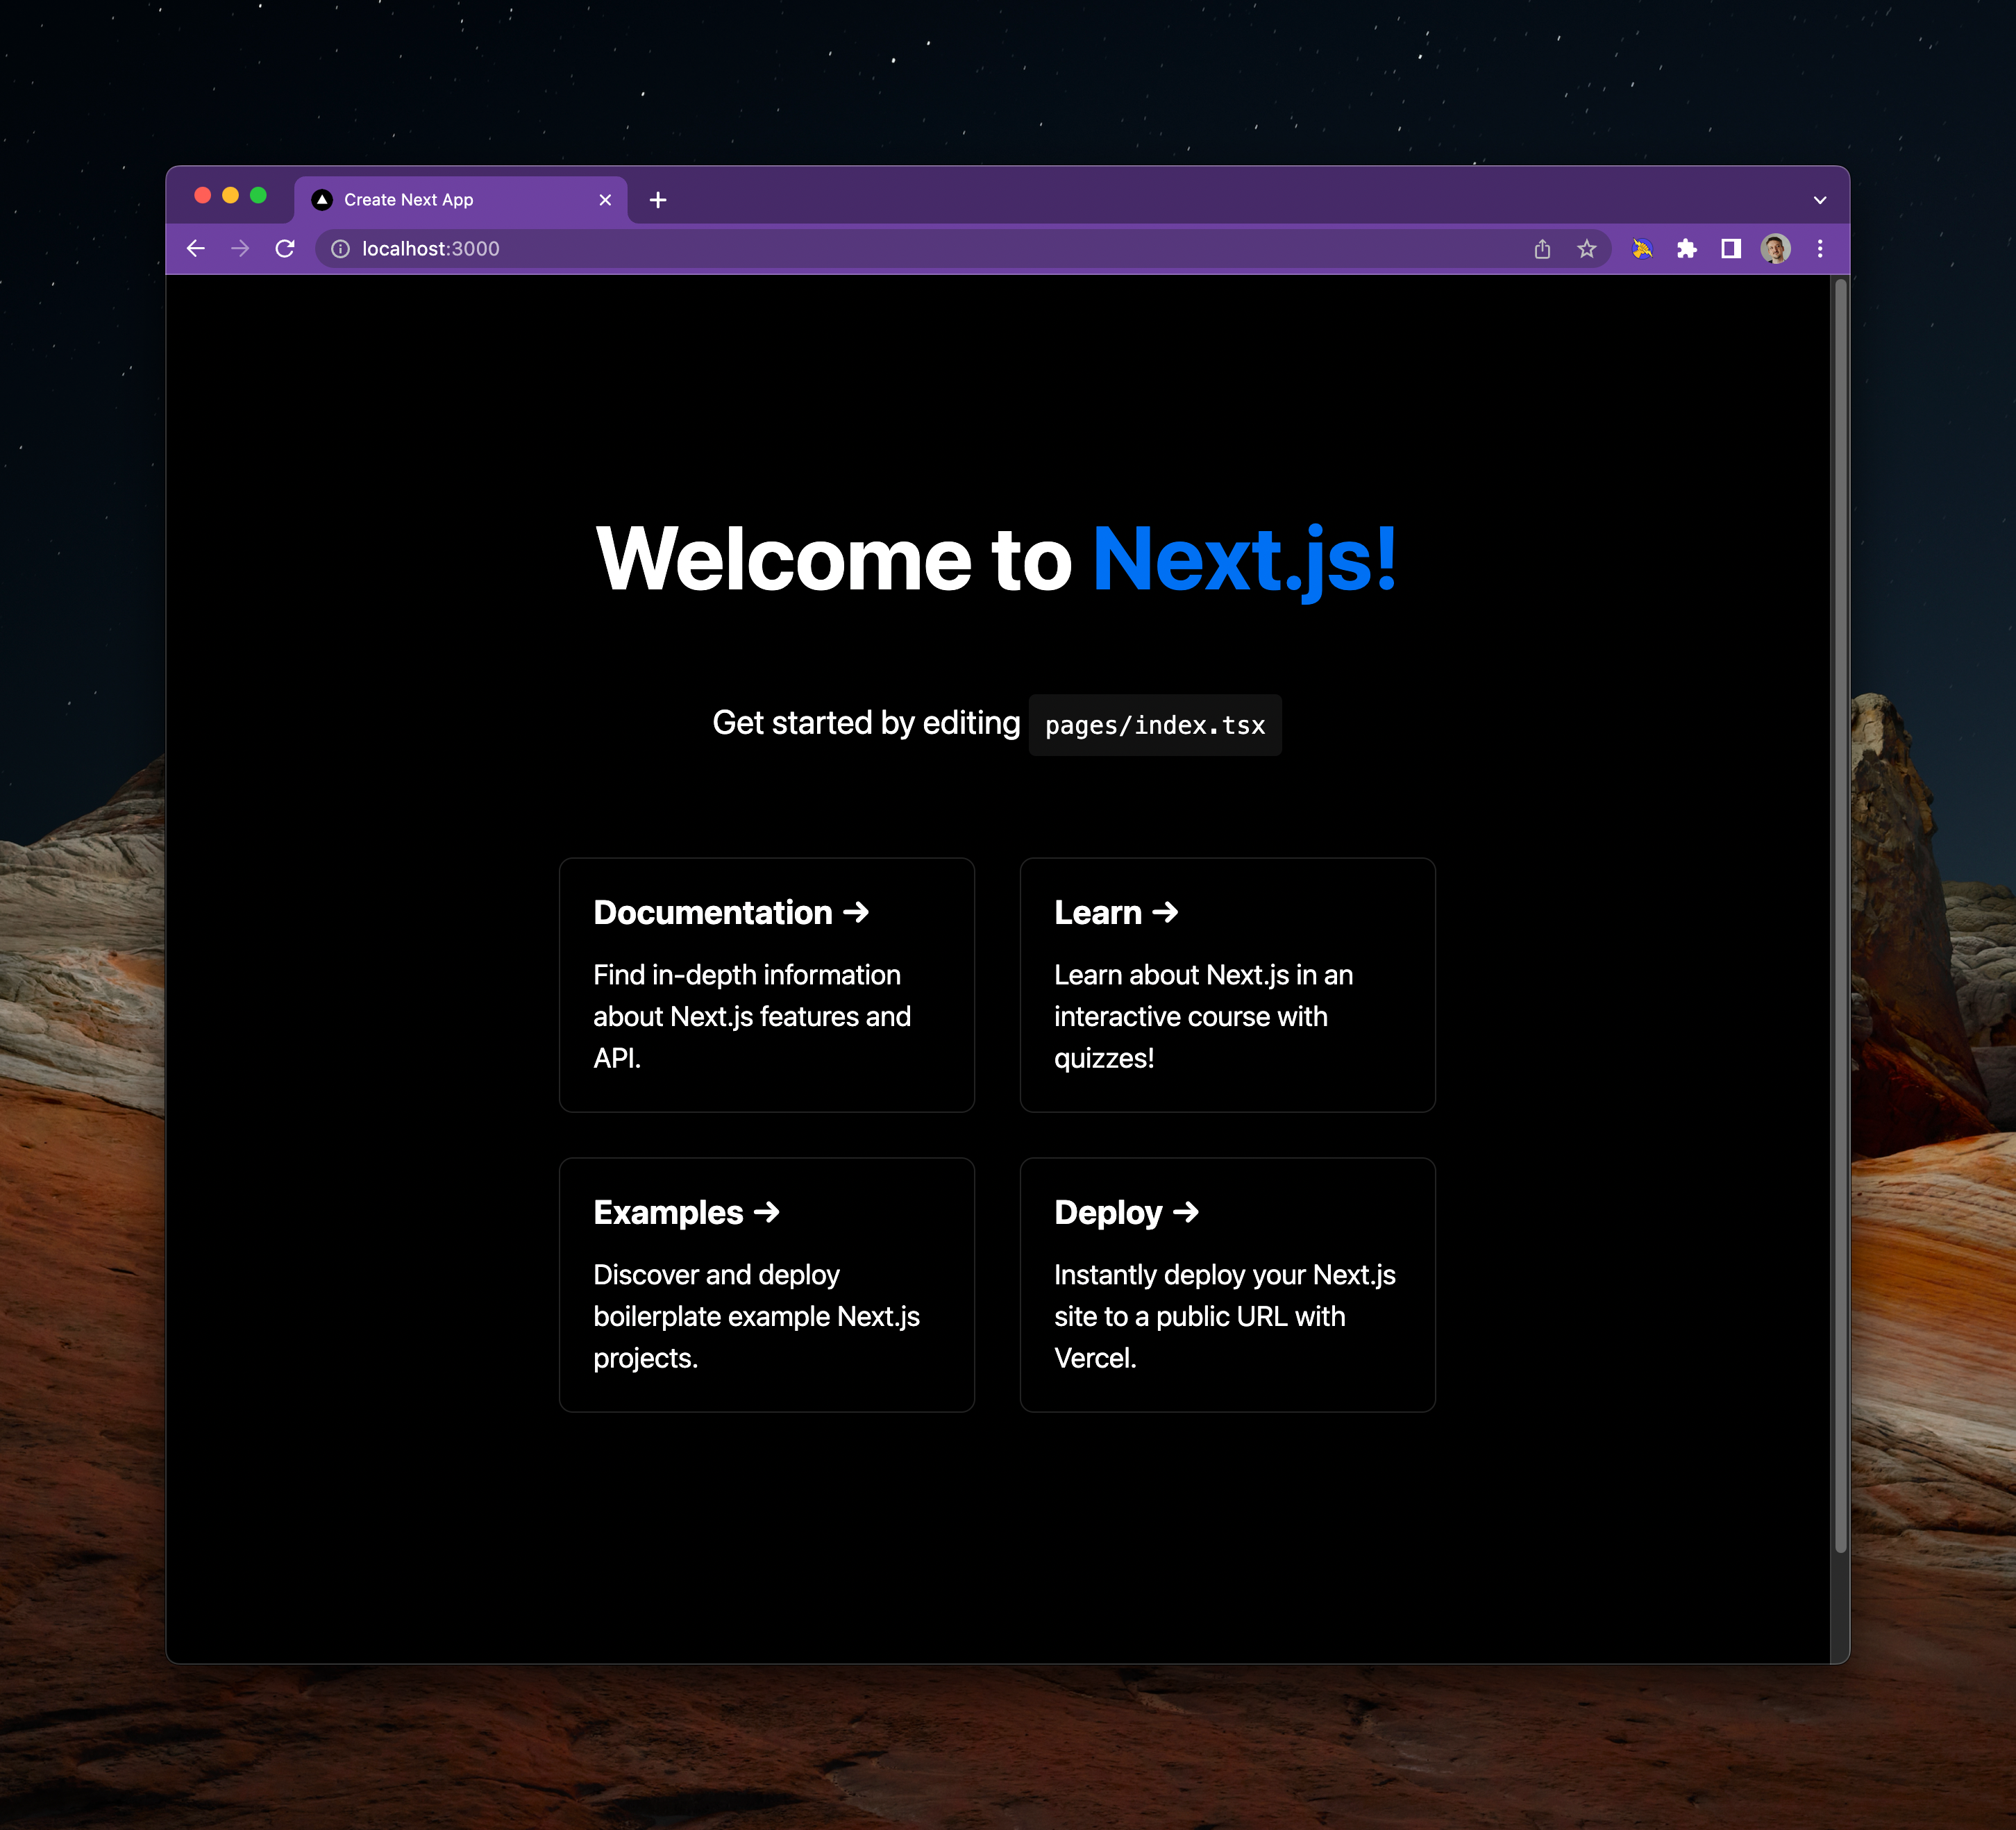
npm run dev
It's not a masterpiece… yet.
5. Adding the API Hero provider
We need to wrap the root component with the API Hero provider. Make sure to use your project key, which was in the CLI instructions. You can also find it by opening this page and selecting your project from the side-menu.
Your _app.tsx file should be changed to this:
//_app.tsx
import "../styles/globals.css";
import type { AppProps } from "next/app";
// 1. add this import
import { APIHeroProvider } from "@apihero/react";

function MyApp({ Component, pageProps }: AppProps) {
  // 2. The <Component /> is now wrapped with the <APIHeroProvider>.
  return (
    <APIHeroProvider projectKey="your-project-key-here">
      <Component {...pageProps} />
    </APIHeroProvider>
  );
}

export default MyApp;
6. Add CSS
This project uses CSS modules. Change Home.module.css to this:
// Home.module.css
.container {
  padding: 0 2rem;
}

.main {
  min-height: 100vh;
  padding: 4rem 0;
  flex: 1;
  display: flex;
  flex-direction: column;
  justify-content: start;
  align-items: center;
}

.header {
  width: 100%;
  display: flex;
  justify-content: center;
}

.input {
  padding: 16px;
  border-radius: 6px;
  border: 1px solid #eaeaea;
  background: #000;
  font-size: 2rem;
  min-width: 70%;
}

.grid {
  display: grid;
  grid-template-columns: repeat(2, 1fr);
  gap: 10px;
  max-width: 800px;
  margin: 24px;
  min-height: 0;
  min-width: 0;
}

.card {
  padding: 1.5rem;
  text-align: left;
  color: inherit;
  text-decoration: none;
  border: 1px solid #eaeaea;
  border-radius: 10px;
  transition: color 0.15s ease, border-color 0.15s ease;
  overflow: hidden;
  overflow-wrap: break-word;
  min-width: 0;
}

.card:hover,
.card:focus,
.card:active {
  color: #0070f3;
  border-color: #0070f3;
}

.card h2 {
  margin: 0 0 1rem 0;
  font-size: 1.5rem;
}

.card p {
  margin: 0;
  font-size: 1rem;
  line-height: 1.5;
  color: #ccc;
}

p.star {
  color: #f0c14b;
}

@media (max-width: 600px) {
  .grid {
    width: 100%;
    grid-template-columns: 1fr;
  }
}
7. Create the search field
// index.tsx
import type { NextPage } from "next";
import Head from "next/head";
import { useState } from "react";
import styles from "../styles/Home.module.css";
// 1. We will create this file in the next step
import { RepoList } from "../components/RepoList";

const Home: NextPage = () => {
  // 2. This state will be used for the input field, and to perform the API call
  const [username, setUsername] = useState<string | undefined>(undefined);

  return (
    <div className={styles.container}>
      <Head>
        <title>User’s repositories</title>
        <meta name="description" content="User's most popular repositories" />
        <link rel="icon" href="/favicon.ico" />
      </Head>

      <main className={styles.main}>
        <header className={styles.header}>
           {/* 3. We use the username state in the normal React way */}
          <input
            type="text"
            value={username}
            onChange={(e) => setUsername(e.target.value)}
            className={styles.input}
            placeholder="Enter a GitHub username"
          />
        </header>

        {/* 4. The RepoList component is where the magic happens */}
        {username && <RepoList username={username} />}
      </main>
    </div>
  );
};

export default Home;
8. Create the RepoList component
Create a new file: components/RepoList.tsx
// components/RepoList.tsx
// 1. This function is used to create a React Hook for an API endpoint
import { createEndpoint } from "@apihero/react";
// 2. "repos" is a group of endpoints. We're going to use "listForUser" from it
import { repos } from "@apihero/github";
import styles from "../styles/Home.module.css";
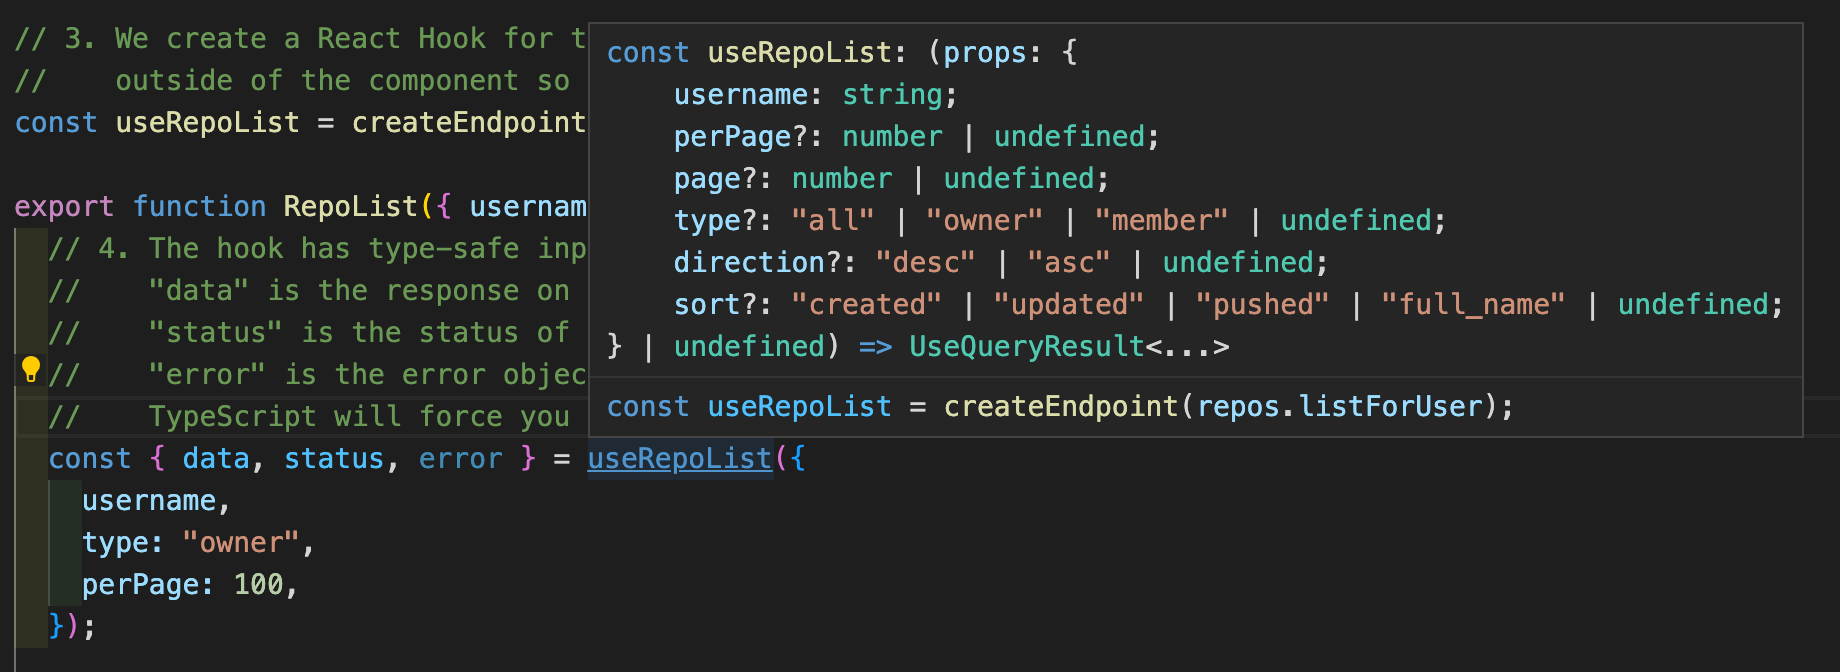
// 3. We create a React Hook for the "listForUser" endpoint,
// outside of the component so it's only created once
const useRepoList = createEndpoint(repos.listForUser);
export function RepoList({ username }: { username: string }) {
// 4. The hook has type-safe inputs and outputs
// "data" is the response on success, with the correct type
// "status" is the status of the request: "loading", "error" or "success"
// "error" is the error object if there is an error
// TypeScript will force you to pass in the correct inputs, username in this case is required
const { data, status, error } = useRepoList({
username,
type: "owner",
perPage: 100,
});
return (
<>
{/* 5. We can use the status to show a loading indicator, an error message, or the data */}
{status === "loading" ? (
<img
src="https://media.giphy.com/media/VseXvvxwowwCc/giphy.gif"
alt="Loading"
width="150px"
height="150px"
/>
) : status === "error" ? (
<div>
<img
src="https://media.giphy.com/media/Nrzs481LzLEdy/giphy.gif"
alt="Error"
/>
</div>
) : (
<div className={styles.grid}>
{/* 6. The data is an array of repositories, we sort them so the most popular ones are first */}
{data
.sort(
(a, b) => (b.stargazers_count ?? 0) - (a.stargazers_count ?? 0)
)
.map((item) => (
// 7. Each repository is a card with a link to the repository and some basic info
<a
key={item.id}
href={item.html_url}
className={styles.card}
target="_blank"
rel="noreferrer"
>
<h2>{item.full_name}</h2>
<p className={styles.star}>⭐️ {item.stargazers_count}</p>
<p>{item.description}</p>
</a>
))}
</div>
)}
</>
);
}
When hovering over the hook you'll notice what inputs are required and in what format. This makes it really easy to get something working.
9. It works!
When you type in a GitHub username or GitHub organisation name you will see their top public repositories.
10. Let's look at the requests and responses in API Hero
Go to your dashboard and then select your project.
Notice how GitHub and the List repositories for a user has automatically appeared.

Click into List repositories for a user and you'll see the history of web requests:
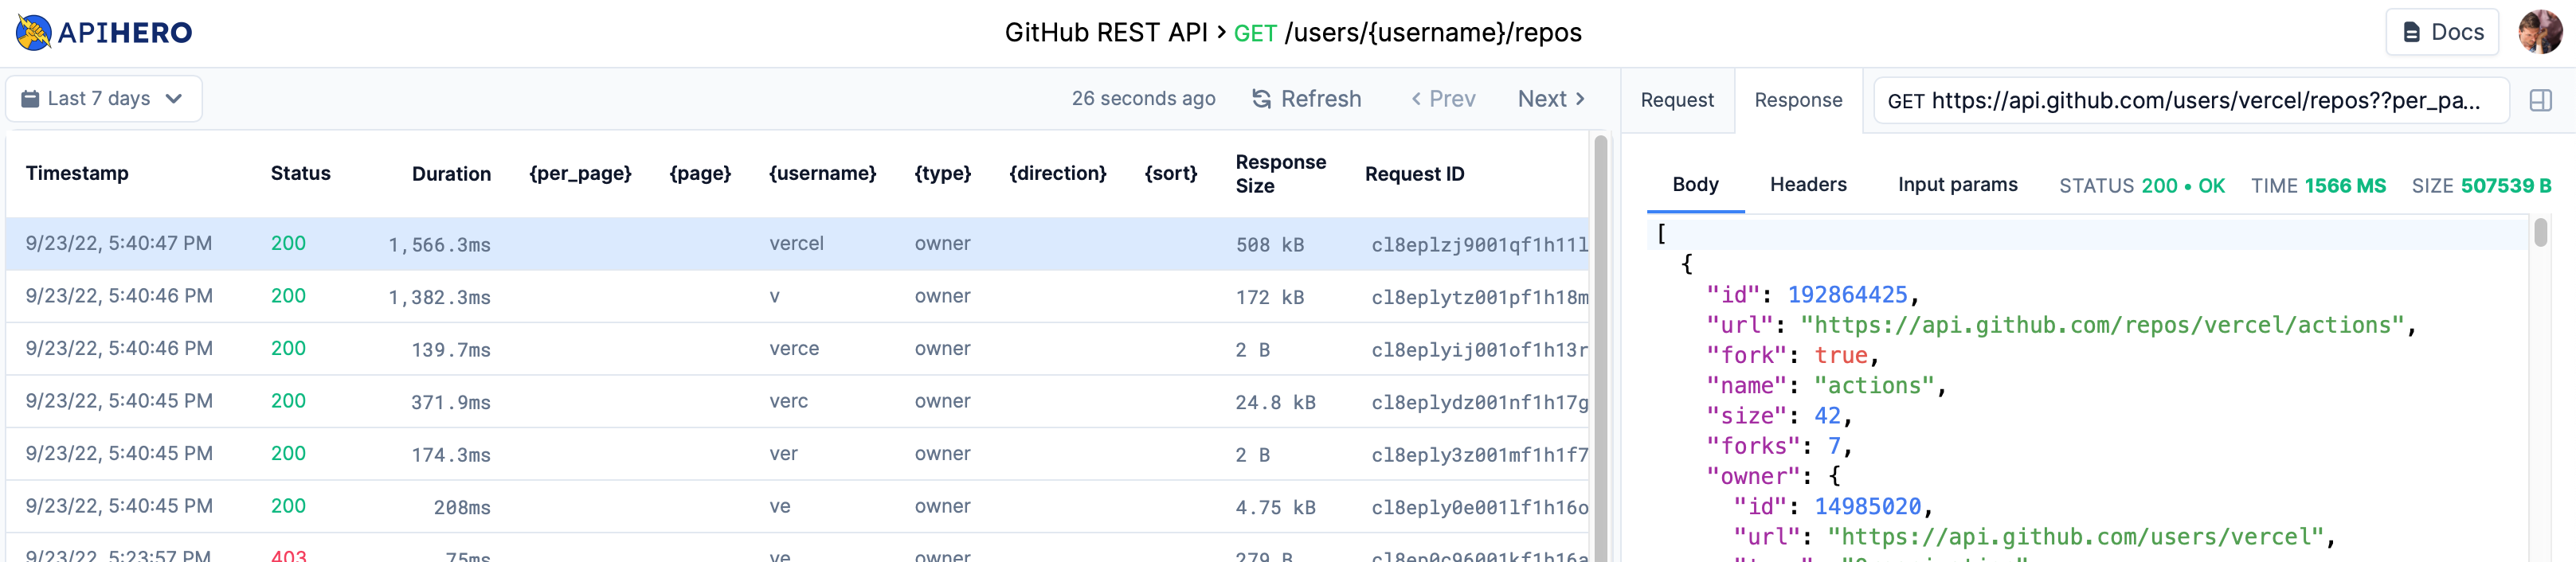
You can select any of them and view the full details of both the request and response.
10. Rate limits
A common problem when using APIs is hitting the rate limit. A rate limit is a maximum number of API requests you are allowed to do within a certain time frame.
GitHub allows 60 API requests per hour, which means you'll very quickly get errors appearing if you play with the site you've built. You don't need to launch it to have these problems, I started experiencing them after a few minutes looking up some of my favourite developer tools companies.
In the Request History you can see this problem clearly:

I have 0/60 requests left and will have to wait until 5:37pm until I get more.
Clearly we can't launch like this.
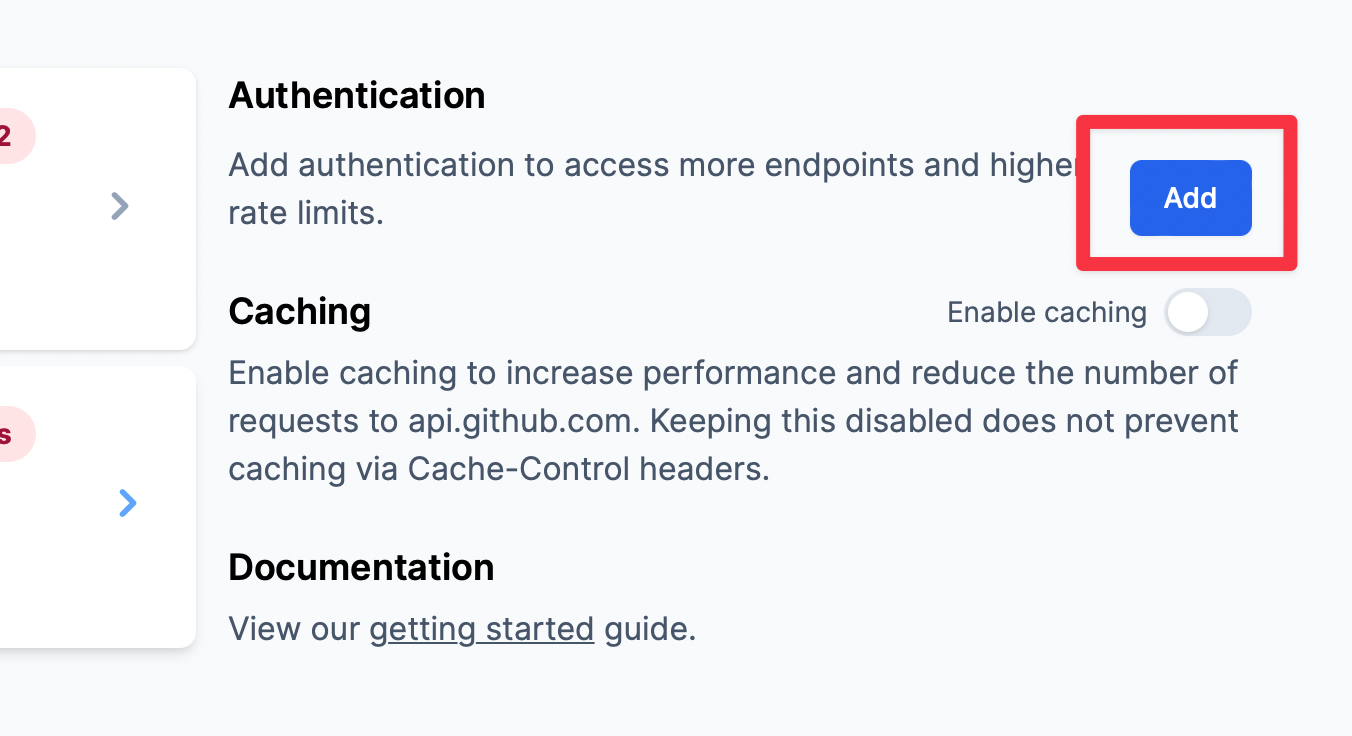
11. Add authentication to increase your rate limit
You can add authentication in 1 minute, increasing your rate limit.
Go back to your project page and click the "Add authentication" button.
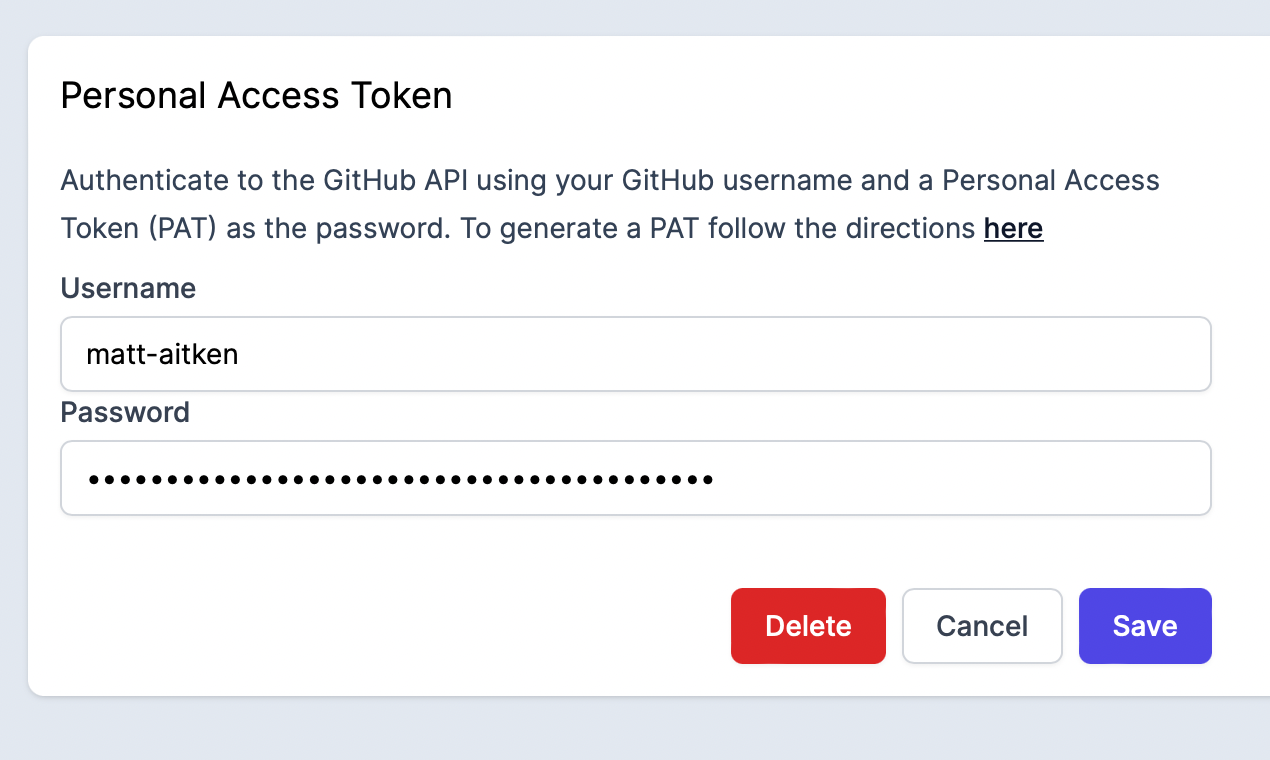
We're going to add a Personal Access Token, first we need to create one on GitHub:
- Go to the tokens page
- Select "Generate a new token"
- Name it and select the expiry
- Don't tick any of the scopes for this token. All the information is public. You should be careful when enabling scopes.
- Press "Generate token"
- Click the token to copy it to your clipboard
Now all we need to do is fill in the form back on API Hero. Use your GitHub username and the token you just copied.
The next time you look up a user's repositories the rate limit will be higher. You can view it in the request history:

12. Adding caching
5000 API calls per hour is quite a high rate limit. But it still won't be enough if the site was to get a lot of traffic.
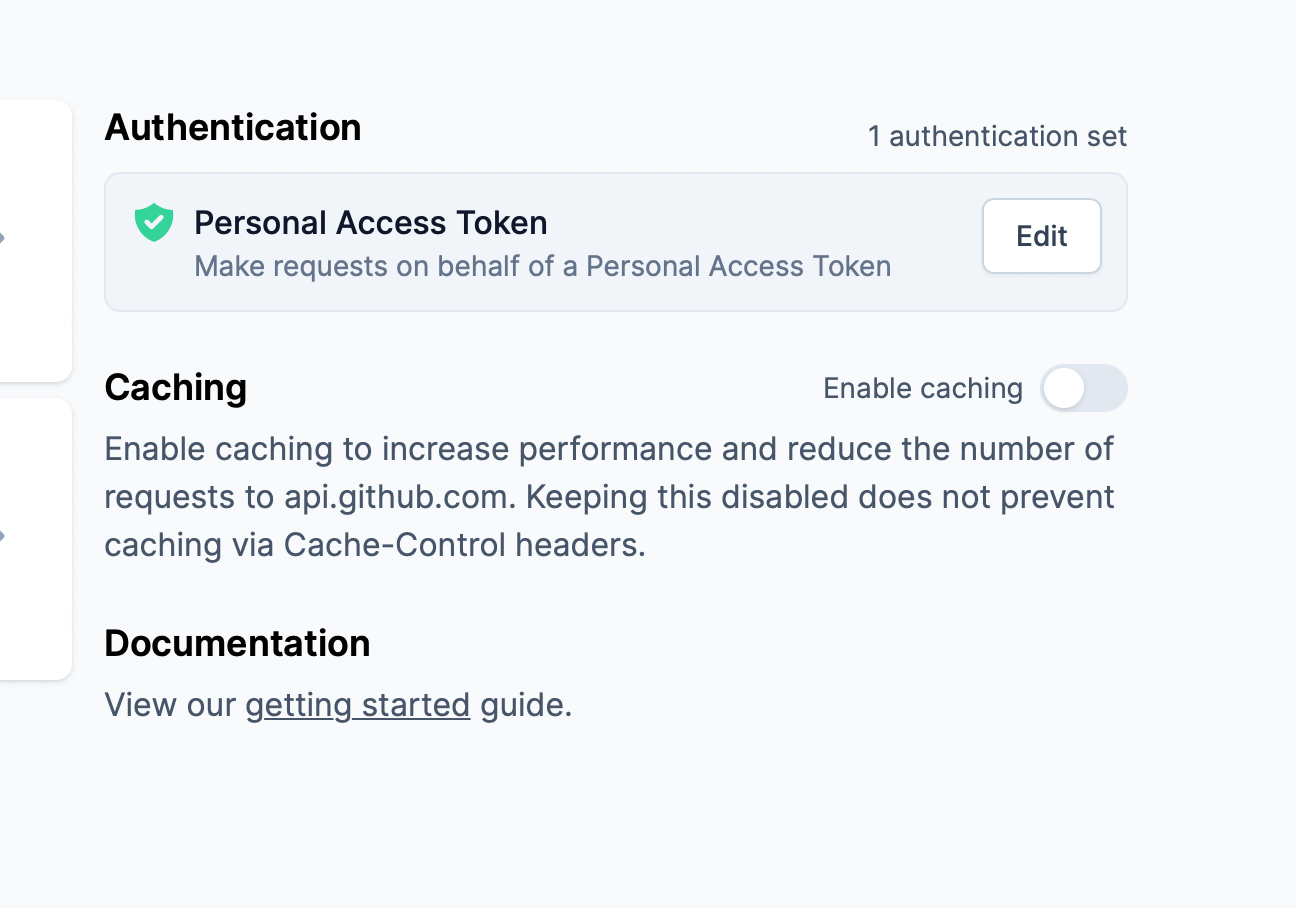
We can make the site very scalable with the flick of a switch.
Go back to the project page, turn caching on, set the duration to 3600 seconds (one hour) and save.
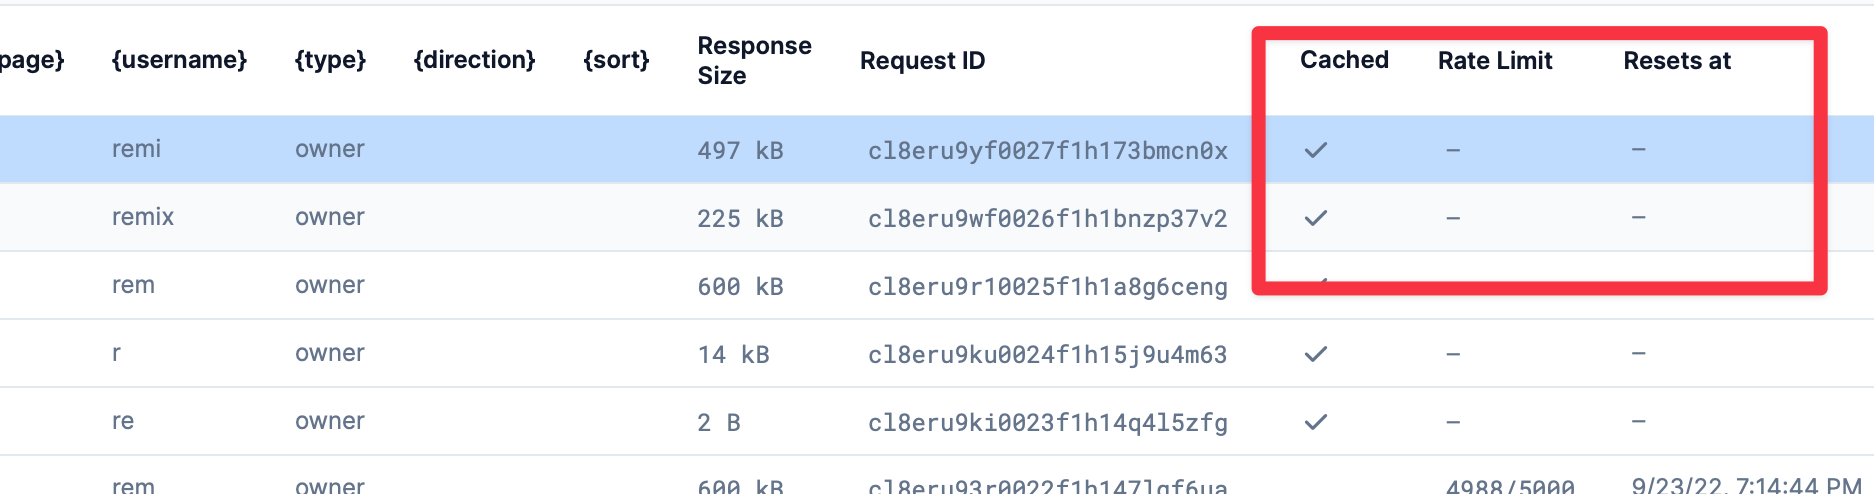
API calls for the same username will now be cached for one hour, so they won't count against your rate limit. You can see this in the request history:
Wrapping up
You should now be able to create a Next.js app from scratch, integrate the GitHub API and make the site scalable.
View the final source code.
Find out more about API Hero


